Initial setup
Server configuration
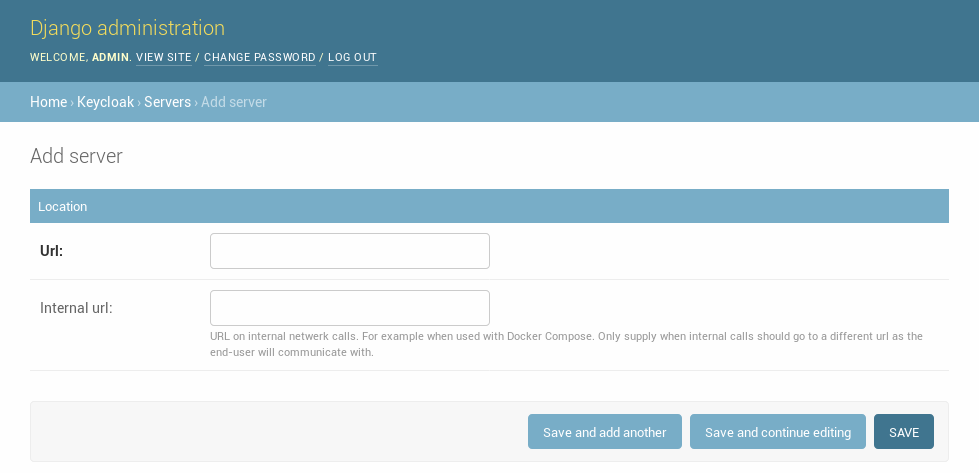
First you have to add your Keycloak server. You can do this in the Django Admin.
Note
When your application access the Keycloak server using a different url than the public one you can configure this URL as “internal url”. Django Keycloak will use that url for all direct communication but uses the standard server url to redirect users for authentication.
Realm configuration
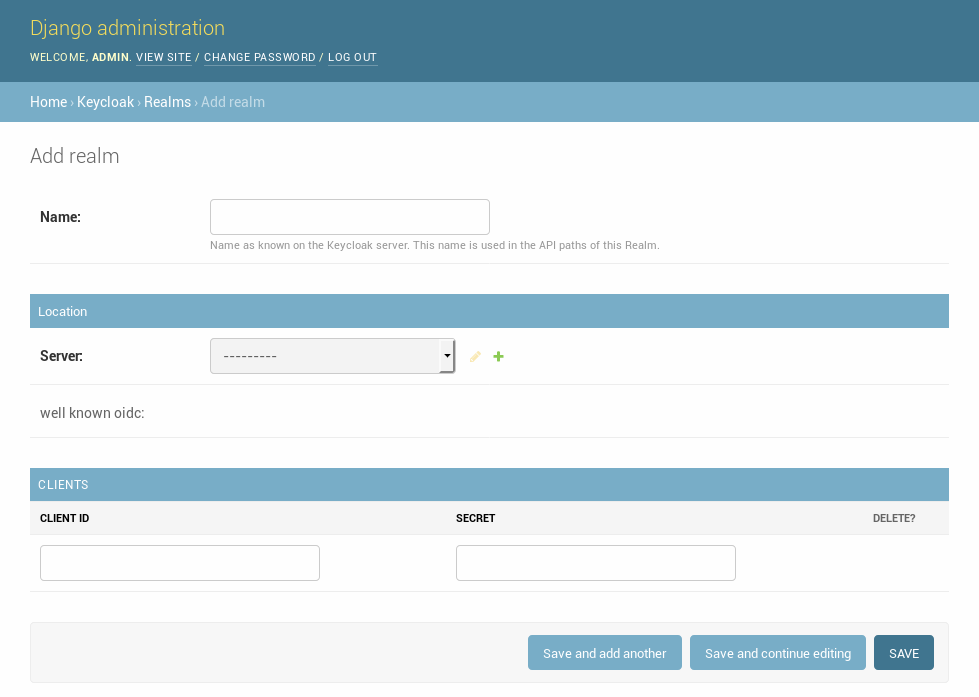
After you have created a REALM and Client in Keycloak you can add these in the Django admin.
Note
Django-Keycloak supports multiple realms. However when you configure multiple realms you have to write your own middleware which selects the correct realm based on the request. The default middleware always selects the first realm available in the database.
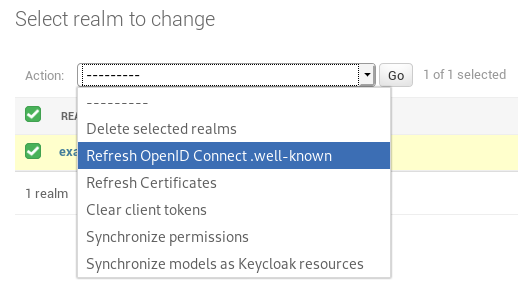
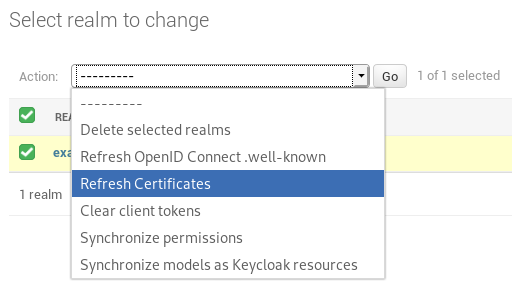
After you have added the realm please make sure to run te following actions:
- Refresh OpenID Connect .well-known
- Refresh Certificates
- synchronize_permissions (when using the permission system)
Tools
Refresh OpenID Connect .well-known
In the Django Admin you can apply the action “Refresh OpenID Connect .well-known” for a realm. This retrieves the .well-known content for the OpenID Connect functionality and caches this in the database. In this way it’s not required to fetch this file before each request regarding OpenID Connect to the Keycloak server.
Refresh Certificates
This refreshes the cached certificates from the Keycloak server. These certificates are used for valiation of the JWT’s.
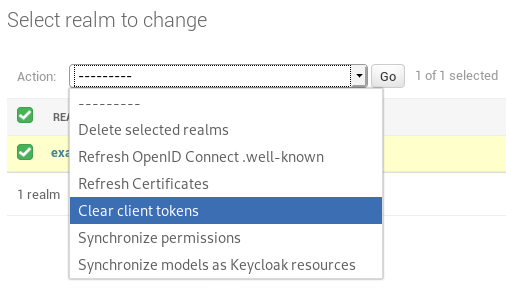
Clear client tokens
While debugging client service account permissions it’s sometimes required to refresh te session in order to fetch the new permissions. This can be done with this action in the Django admin.